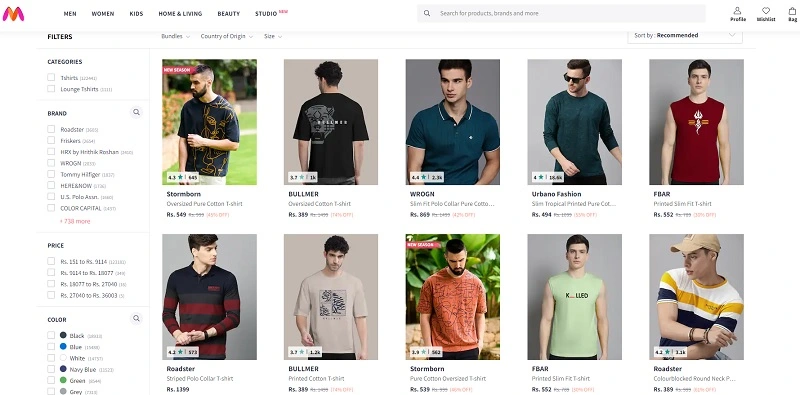
Myntra is a popular online shopping platform in India just like Flipkart and Amazon. Myntra started in 2007 by selling personalized gifts but now it’s more focused on fashion and lifestyle products for men, women, and kids… like clothing, footwear, accessories, toys and games, beauty items, home decor, and more from many different famous brands. Myntra also offers a lot of discounts and exclusive collaborations with brands.. through their website and their mobile app.
If you are looking for a step-by-step guide to creating a store like Myntra, with all the main and important features, like user profiles, product listing, product recommendations, search and filters, cart and checkout, rating and reviews, seller dashboard, payment gateways… then this guide is for you! In this article, we have described the complete process using only WordPress.
We have also shared with you the best hosting to host your Myntra-like site, the best e-commerce WP theme, and the required plugins for that.
Difficulty level: Intermediate.
Cost: At the lower range, setting up everything for your Myntra-like website as we’ll break down below, will cost you around $90 to $100 for the first year. This price includes everything, from the web hosting, domain name, plugins.. to the WP theme.
Content (click to jump):
- Get the recommended hosting and a domain name
- One-click WordPress installation
- Choosing the right theme
- Installing Plugins
- One-click demo import
- Change the logo and site name
- Set up the homepage
- Set up shop and products
- Update the menu and categories
- Configure payments
- Launch your Myntra-like site
#1: Get the recommended hosting and a domain name
Bluehost is perfect for you if you’re a beginner just starting with websites. It’s super easy to use, very affordable, fast and secure, and has friendly support ready to help you out with anything you need.
To sign up with Bluehost:
- Go to their shared hosting page
- Select the basic plan (Made for a simple website or blog for $2.95/mo)
- Skip any additional services
- Enter a new domain name or use an old one of yours
- Enter your account information
- Remove any extra packages
- Enter your billing information (Card or PayPal)
- Review your order
- And finally, complete your purchase
#2: One-click WordPress installation
WordPress is the dashboard from where you gonna add your products, customize your store, and simply manage it. It’s a very simple and easy-to-learn dashboard. To install it with 1 click:
- Go to your Bluehost account
- Click on “Hosting” on your left sidebar
- Click on “Add Site”
- Select “Install WordPress”
- Click “Continue”
- Choose a title for your site
- Enter the domain name you just purchased
- Click on “Continue”
Congrats, WordPress now is installed.
You can access your dashboard by clicking “Log into WordPress”.
#3: Choosing the right theme
WordPress themes are ready-made designs and features for websites, to make a site like Myntra, all you need is to find a WP theme that looks like it and has the same features or even better ones than Myntra.
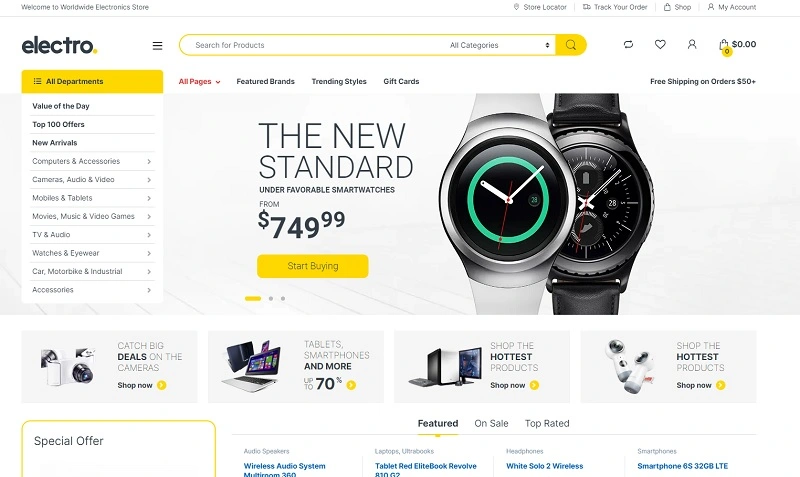
We have done the job for you and already found Electro (more than 23k sales as of now), a very powerful, clean, and smart WooCommerce store theme, it has more than 13 ready-to-use demos, and tons of cool features just like these famous online big names like Amazon, Myntra, or Flipkart. A better alternative for Machic.
What can you sell using this WP theme?
- Electronics
- Clothing, Shoes, and Jewelry
- Home and Kitchen
- Books
- Health and Household
- Toys and Games
- Beauty and Personal Care
- Sports and Outdoors
- Tools and Home Improvement
- Automotive
- and more..
Assuming you have downloaded your Electro theme ZIP file, to install it, follow these steps:
- Under your WordPress dashboard, go to → Appearance → Themes → Add New → Upload Theme → Choose File
- Select your Electro file from your computer
- Click Upload
- Click Activate after the upload is finished
#4: Installing Plugins
After you have activated your theme, you’ll see a notice about required plugins for Electro, click “Begin installing plugins” to proceed, if you don’t see that you can access the page from Appearance > Install Plugins.
Select all the plugins, and click Install.
After the installation is complete, activate them by navigating to the Plugins page (Plugins → Installed Plugins).
#5: One-click demo import
After you have installed the plugins, follow these steps:
- Go to Appearance → Import Demo Data
- Click on Import Demo Data
- Wait for the import to complete
#6: Change the logo and site name
To change your site logo or title, simply:
- Go to Appearance → Customize
- Look for a section labeled Site Identity, Header, or Logo
- Upload your Logo
- Enter your site title and tagline
- Click Publish
#7: Set up the homepage
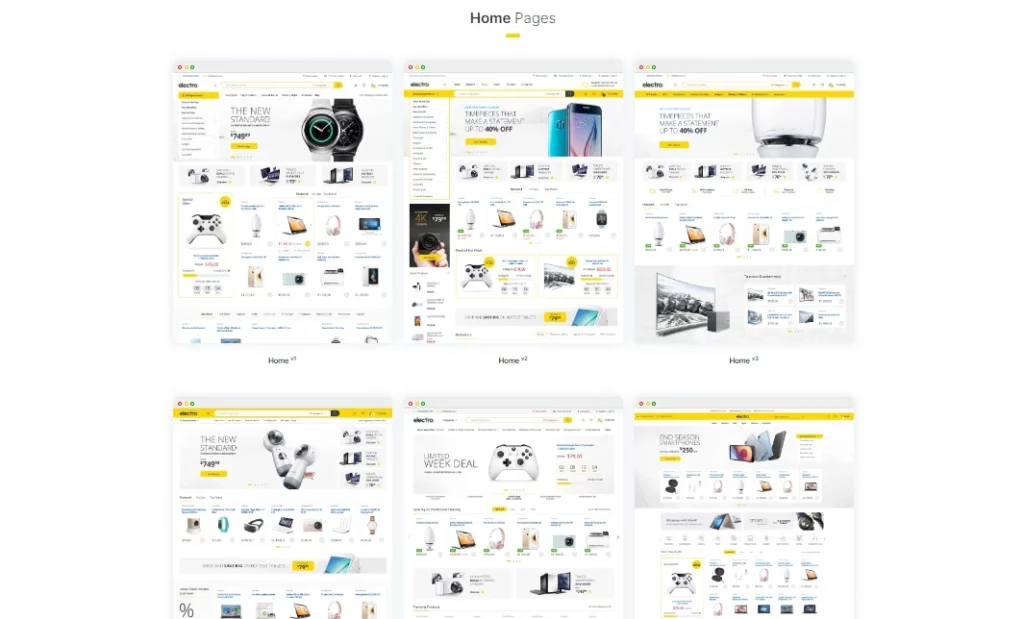
Choose from 13 awesome home pages, the one that suits your preferences, then:
- Go to Pages → Add New (to create a new blank page)
- From the right sidebar, choose the template “Homepage v10” for example
- Click on Publish
- Now if you refresh the page you will have the Home v10 page options to help you configure and customize it
#8: Set up shop and products
To set up the shop page (the page to display all WooCommerce products):
- Go to WooCommerce → Status → Tools → Install WooCommerce Pages
- Click on Install Pages
- Now it automatically creates all missing shop pages
To add a new product, it’s very simple:
- Navigate to Products → Add New
- Enter your product’s name
- Write a description
- Add images
- Add price and sale price
- Add stock quantity if you want
- Configure the shipping
- Select the product’s category
- Click on Publish
#9: Update the menu and categories
The Electro theme has 10 menu locations:
- Off Canvas Menu
- Top Bar Left
- Top Bar Right
- Primary Nav
- Navbar Primary
- Secondary Nav
- Departments Menu
- All Departments Menu
- Blog Menu
- Mobile Handheld Department
To update a menu, change its elements, or assign it to a location, you can do this from Appearance → Menus.
#10: Configure payments
Of course, there is no store or shop without payment gateways, to activate that for your store, it’s very easy:
- Head to WooCommerce → Settings
- Click on the Payments tab
- You’ll see that there are many different payment methods available (such as PayPal.. Stripe.. etc)
- Enable the ones you want to use by checking the box next to each method
- Select the one to configure (PayPal for example)
- Enter the required information (your PayPal email in this case)
#11: Launch your Myntra-like site
Finally before launching your new Myntra-like online store, make sure your site is running smoothly, with no bugs, no missing texts, images, or products.. also double check that your checkout configuration is working well and customers can buy from your site with no technical issues.