Over the last few years, Zameen.com has become a popular and trusted portal resource for people in Pakistan looking to buy, sell, rent, and simply engage in real estate or just seek information about the property market. Zameen refers to the ground, soil, land, or property in real estate in Urdu language.
Just like Airbnb and other competitors, Zameen.com provides various tools and features to make it easy for users to search for properties based on their preferences, such as the location, the price, the property type.. etc.
Creating a real estate website similar to Zameen.com can be quite challenging but actually not as it seems to be.
In this article, we’re gonna share with you step-by-step how you can create a website just like Zameen in just a few hours even if you are a beginner.. and connect buyers, sellers, and renters in a user-friendly way and earn money from it.
Difficulty: Medium, no coding is needed.
Straight to the point, no time-wasting additional text.
Cost: How much does it cost to create a site like Zameen.com? For the whole first year, you’ll only be investing around $100, which covers the web hosting, the domain name, and the WordPress theme. Unlike having a developer coding it for you, which will take months or even years to be done, as well as cost you thousands of money.
Summary:
- Get a hosting and domain name
- Install WordPress
- Choose the right website template (similar to Zameen)
- Create property listings
- Set up payment gateways
- Launch your site
Step #1: Get your hosting
If you’re a beginner looking to get hosting and a domain name, we recommend Bluehost.
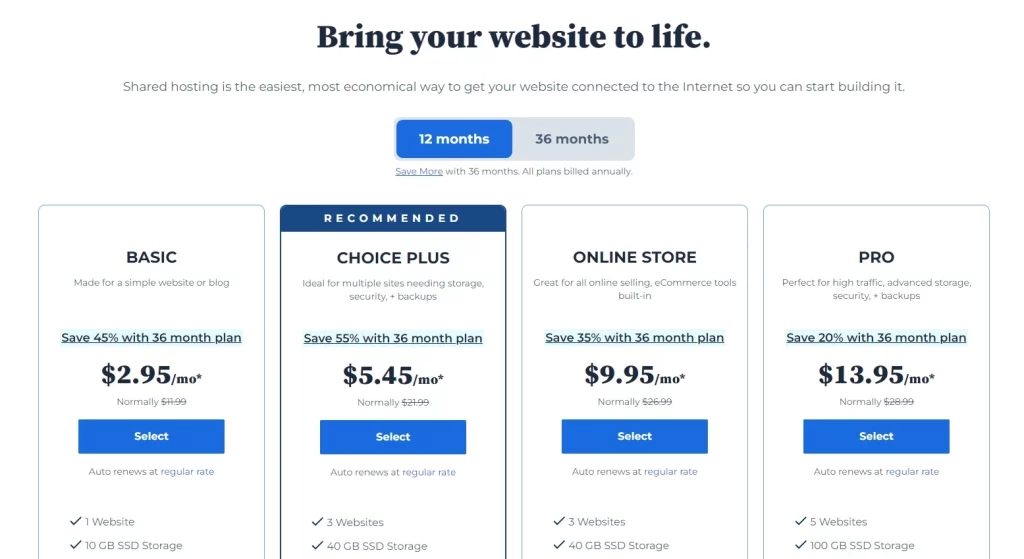
- Visit the Bluehost hosting page
- Select the basic plan ($2.95/mo)
- Choose a domain name (it will be automatically linked to your hosting)
- Enter your account and billing pieces of information
- Review your order
- Complete the purchase
Step #2: Install WordPress
Installing WordPress is free of charge. WordPress is a CMS Content Management System that lets you create content on your website, add text, images, products, videos.. and simply manage and customize your site.
- After you log in to your Bluehost account, go to “My Sites”
- Click “Create site”
- Choose WordPress
- Enter your site name, and click “Advanced” to set your username and password so you can easily access your site’s dashboard next time
- Select your domain name
- Click Install WordPress
Now you can manage your site’s content from one simple dashboard.
Step #3: Choose a template (similar to Zameen)
While there are many WP themes out in the market, finding an exact match to Zameen.com can be challenging. However, after doing a lot of research, here is the best WordPress theme you can use to have a similar look and functionalities (property listings, bookings, user accounts, payment systems.. etc) to Zameen and even better ones.
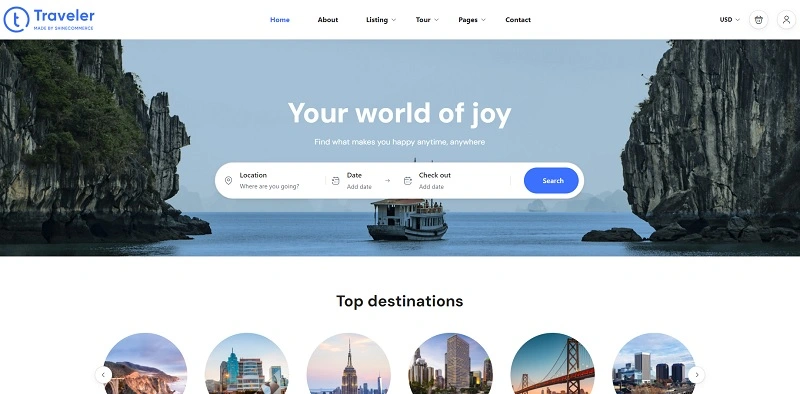
Travel Booking, one of the best-selling travel themes. Your ultimate time and money-saving solution, the WP theme has many features, from customizable booking forms, flexible payment options, automatic notifications, smart search, filter, maps, affiliate system, admin dashboard, and statistics, to sync with Google, TripAdvisor, Airbnb, and HomeAway Calendars.
After you have purchased and downloaded the theme:
- Go to your WordPress dashboard
- → Appearance
- → Themes
- → Add New
- → Upload the Theme
- Then go to Theme Settings → Quick Install Demo
- Choose the one that you like
- Click Install
At the top left of your dashboard, hover over your site’s name or click “Visit Site” to see the new site look.
Step #4: Set up your site
Now you’ll need to add some style, properties, rentals, hotels, rooms, city tours, car rentals, activities, and locations.
To start styling your site:
- Go to Theme Options → Styling Options
- Select the theme style
- Change the main colors of the website
- Choose the typography and fonts on your website
- Select the Menu Style
- Customize your header and footer
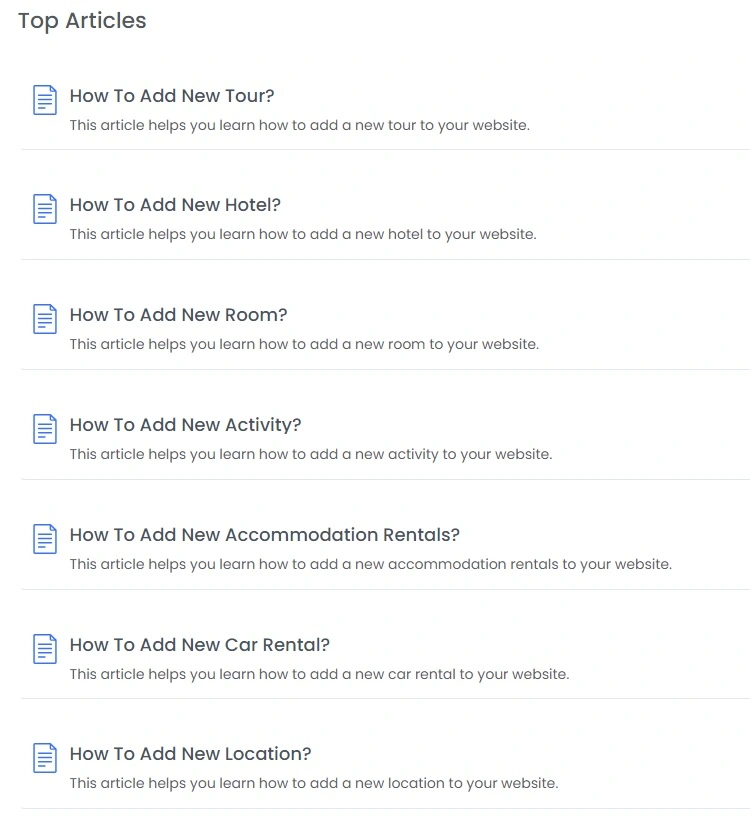
P.S. They have full documentation on how to do all of this step by step.
Now let’s add some accommodation rentals and locations:
- On your WordPress dashboard, go to Rental → Add Rental
- Select the location
- Enter the place of rental property
- Pinpoint the location on Google map
- Add more Properties nearby
- Activate Street View Mode
- Select the preferred booking option
- Set the Max Adults/Children
- Upload images of the rental
- Choose the Contact Info
- Put the rental price
- Choose payment methods
- Configure some additional rental settings
And you are good to go!
Step #5: Set up payment gateways
The payment gateways available with their modal checkout include popular ones like PayPal, Stripe, 2Checkout, Authorize.net.. and many more.
You’ll have to set up each one individually. Check out their guide on how to do this.
Note: You can also use WooCommerce’s checkout function instead of the Modal checkout method. If you don’t wish to use it, you should turn it off, to do so, go to Theme Options → Booking Options → WooCommerce Options.
Step #6: Launch your site
Now and before launching your site, test it thoroughly for functionality, user experience, responsiveness, and ease of use. Once everything is in place, congratulations you are officially launching your new real estate website.